In a Nutshell
Useful / Download
- Original idea: Karpathy’s LLM Wiki gist
- Download: Obsidian
- Download: Obsidian Web Clipper
- Download: Claude Desktop app
- Guide: Claude Code install
- Guide: Terminal for beginners
- FREE Lean Starter Vault
In April 2026, Andrej Karpathy published a short text file called LLM Wiki. The idea: instead of asking an AI the same questions about your documents over and over, you let the AI build and maintain a personal wiki for you. You collect the sources, the AI does the filing, summarizing and cross-linking. Obsidian is where you read it.
This guide walks you through the full setup on Windows, even if you have never opened a terminal. You get two paths: the Claude Desktop app (no terminal at all) and Claude Code in the terminal (a bit more power). Plan about 30 minutes and have a paid Claude plan ready.
What the LLM Wiki Actually Is
Think of it as hiring a librarian who never gets bored. You drop a book on the desk, the librarian reads it, writes a summary card, updates every related card in the catalog and notes down what changed. Next time you ask a question, the librarian doesn’t reread every book. They check the catalog they already built.
That is the key difference to “chat with your PDFs” tools. Those tools start from zero on every question. The LLM Wiki compounds: every new source makes the existing pages richer, and good answers get saved back as new pages. Karpathy’s point is that people abandon personal wikis because the upkeep grows faster than the value. An AI doesn’t mind the upkeep.
Three Layers, Three Jobs, Two Special Files
The whole system is just a folder of Markdown files. Nothing to install on top, no database.
flowchart LR
    A[You clip an article] --> B[raw folder]
    B -->|Ingest| C[AI writes and updates pages]
    C --> D[wiki folder]
    D -->|Query| E[Answers with sources]
    E -->|Save good answers| D
    D -->|Lint| F[Health check and fixes]
The three layers (two folders and one file):
- raw: your original sources. Articles, notes, transcripts, PDFs. The AI reads them but never changes them.
- wiki: the pages the AI writes. Summaries, pages about people, pages about concepts, all linked together.
- The rule file: a file called
CLAUDE.mdthat tells the AI how your wiki works. How pages look, where things go, what to do on each job.
The three jobs:
- Ingest: you add a source, the AI files it. One article can touch 10 to 15 wiki pages.
- Query: you ask a question, the AI answers from the wiki and cites the pages. If the answer is useful, it becomes a new page.
- Lint: a health check. The AI looks for contradictions, outdated claims, orphan pages nobody links to and topics that deserve their own page.
The two special files:
- index.md: the catalog. Every page with a one-line summary. The AI reads this first when answering questions.
- log.md: the diary. An entry for every ingest, query and lint, with the date.
What You Need
- Windows 10 or 11 with an internet connection
- Obsidian (free) to read and browse your wiki
- Obsidian Web Clipper (free browser extension) to save articles with one click
- A paid Claude plan (Pro or higher). Claude Code and the Code tab in the desktop app are not part of the free plan. Pro, Max, Team and Enterprise plans all work, as does an Anthropic Console account. Pro costs $20 per month (check current pricing).
- About 30 minutes for the first setup
About token usage
Ingesting is the expensive part. Every source means reading the file plus many existing pages, then writing 10 to 15 pages. On a Pro plan, a handful of carefully chosen sources per week works well. Clipping everything you read will burn through your limits fast. Feed it deliberately.
Step-by-Step Guide
Step 1: Install Obsidian and Create a New Vault
- Download Obsidian from obsidian.md and run the installer.
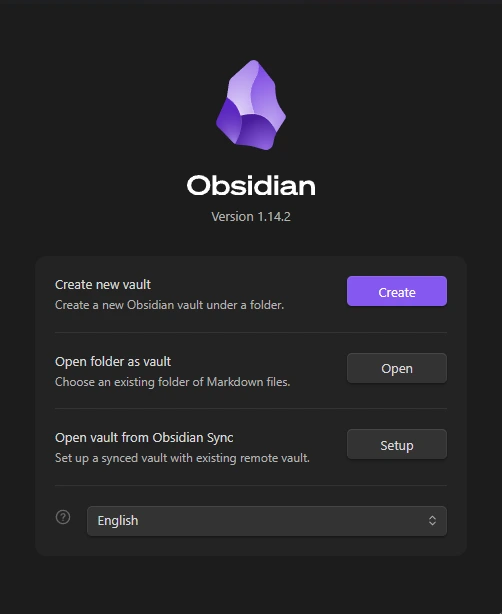
- Open Obsidian and click Create new vault.
- Name it something like
My Wikiand pick a location you can find again, for exampleDocuments. - Click Create.
Use a new, empty vault for this. Don’t point the AI at your main vault on day one. Once you trust how it works, you can decide whether to merge.
Step 2: Create the raw and wiki Folders
- In the left sidebar, right-click the empty space and choose New folder. Name it
raw. - Repeat and create a folder called
wiki. - Right-click
raw, create a subfolder calledassets. This is where images from clipped articles will go.
Now tell Obsidian to save images into that folder:
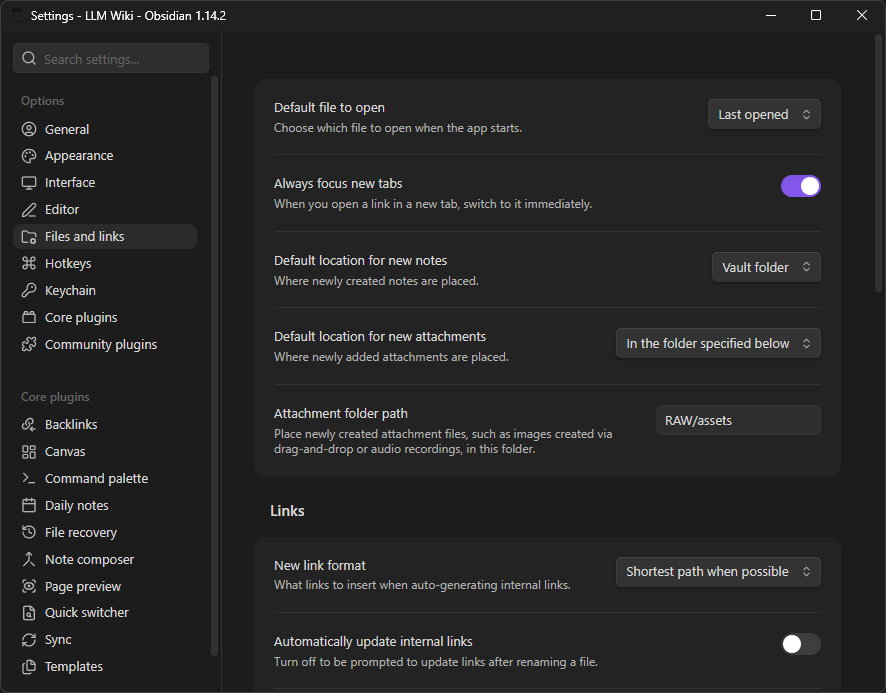
- Open Settings (gear icon, bottom left) and go to Files and links.
- Set Default location for new attachments to In the folder specified below.
- Set Attachment folder path to
raw/assets.
Optional but handy, straight from Karpathy’s tips: go to Settings → Hotkeys, search for Download attachments for current file and assign a shortcut like Ctrl+Shift+D. After clipping an article, press it once and all images get saved locally, so they don’t break later.
Step 3: Set Up the Web Clipper
Deep dive
- Install the Obsidian Web Clipper for your browser (Chrome, Edge, Firefox and others are supported).
- Click the extension icon, then the gear icon to open its settings.
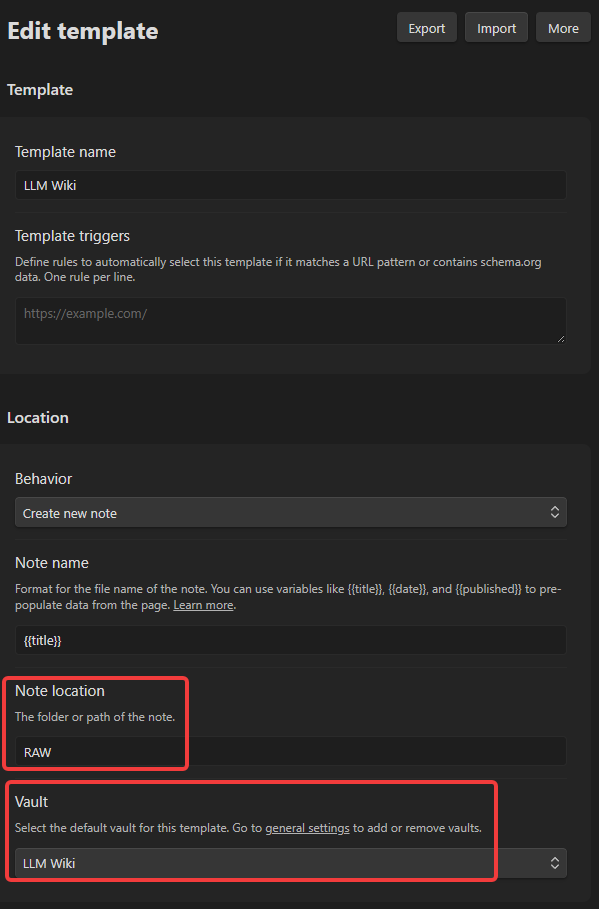
- Under the default template, change the Note location from
Clippingstoraw. - Make sure the vault selected is your new
My Wikivault.
From now on, one click saves any article straight into your raw folder.
Step 4: Connect Claude to Your Vault
This is where you choose your path. Both do exactly the same work. The difference is only how you talk to Claude.
| Path A: Claude Desktop | Path B: Claude Code in the terminal | |
|---|---|---|
| Best for | You never want to see a terminal | You’re curious and want more control |
| How it looks | Normal app window with buttons | Text window, you type commands |
| Review changes | Visual diff with Accept/Reject buttons | Text prompts asking yes/no |
| Plan needed | Pro or higher | Pro or higher |
Path A: Claude Desktop (no terminal)
- Download the Claude Desktop app for Windows via the official quickstart page and run the installer.
- Open the app and sign in with your Claude account.
- At the top, click the Code tab. (The Chat tab has no access to your files, so it won’t work for this.)
- Choose Local as the environment.
- Click Select folder and pick your
My Wikivault folder. - Set the permission mode to Manual for now. Claude then shows you every file change before it happens, with Accept and Reject buttons. Once you’re comfortable, switch to Accept edits so it can work without asking each time.
Path B: Claude Code in the Terminal
Terminal inside Obsidian
Don’t panic, you only need three commands. Each one is explained.
- Press the Windows key, type
PowerShelland open Windows PowerShell. - Copy this line, paste it with a right-click and press Enter. It downloads and installs Claude Code:
irm https://claude.ai/install.ps1 | iex- Close PowerShell and open it again, so it knows the new command. Then move into your vault folder. Replace the path with the location you picked in Step 1:
cd "$HOME\Documents\My Wiki"cd means “change directory”, so you’re telling the terminal which folder to work in. The quotes are needed because the folder name has a space.
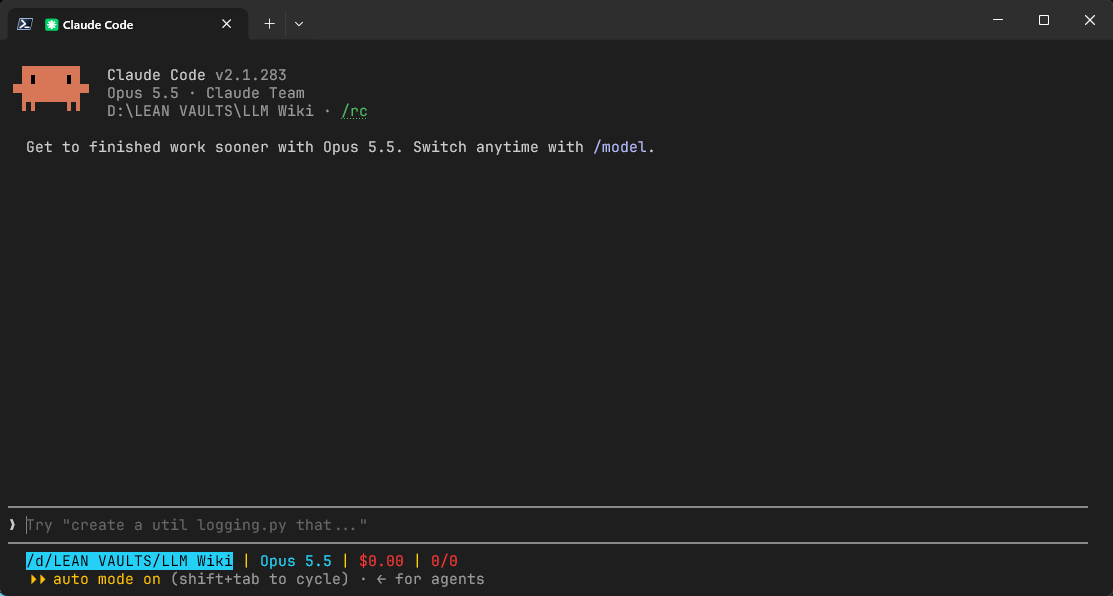
- Start Claude Code:
claudeThe first time, your browser opens and asks you to sign in with your Claude account. After that, you’re chatting with Claude inside your vault. Whenever Claude wants to create or change a file, it asks first. Answer with the arrow keys and Enter.
Tip: if you’d rather not leave Obsidian, my free plugin Lean Obsidian Terminal gives you a terminal right inside your vault, already in the right folder.
Step 5: Give Claude Karpathy’s Instructions
This step is the same for both paths.
- Open Karpathy’s gist in your browser.
- Click Raw (top right of the file), press
Ctrl+Ato select everything, thenCtrl+Cto copy. - Paste it into the message box: in the Code tab if you chose Path A, or straight into your terminal session if you chose Path B.
- Below the pasted text, add this prompt and fill in the brackets:
I want to set up an LLM Wiki based on the idea file above.
It will cover [your topics, e.g. my work projects, books I read, health research].
This folder is my Obsidian vault. The raw and wiki folders already exist.
I'm not technical, so explain what you do in plain language.
Before creating anything, ask me any clarifying questions you need.
Then create CLAUDE.md, index.md and log.md, and walk me through my first ingest step by step.
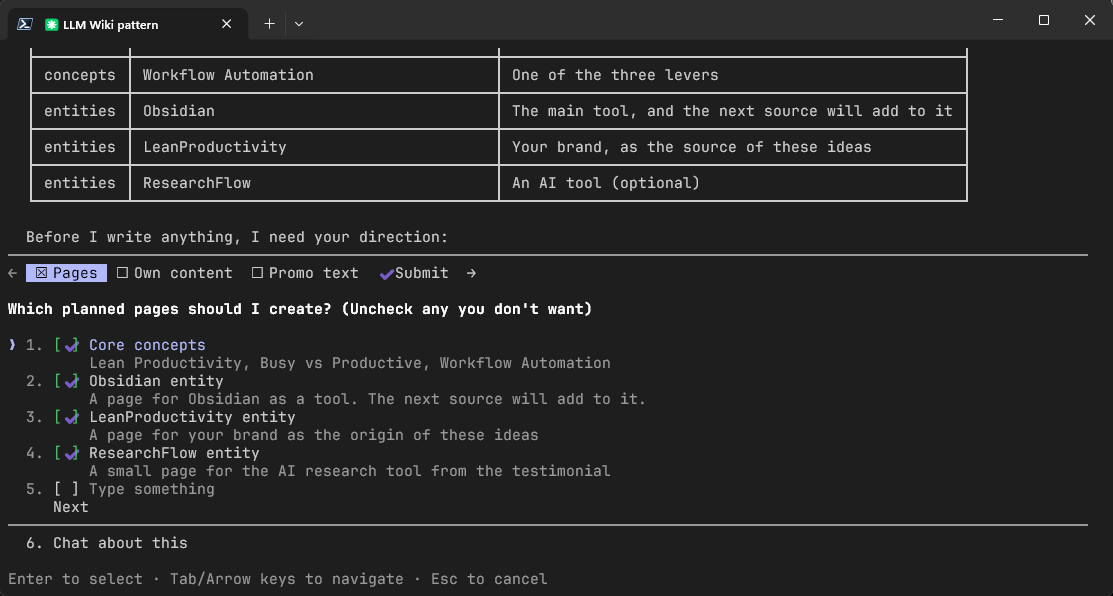
Claude will ask you some questions, for example which topics matter, how detailed pages should be and whether you want to discuss each source before it gets filed. Answer honestly, there are no wrong answers. Afterwards it creates CLAUDE.md, your rule file. Claude reads this file at the start of every session, so it always remembers how your wiki works.
Karpathy wrote the gist to be vague on purpose. It describes the pattern, not a fixed setup. That’s why Claude asks questions: your wiki gets shaped around your needs.
Step 6: Your First Ingest
- Find an article you actually care about and clip it with the Web Clipper. It lands in
raw. - Tell Claude:
I just added a new file to raw. Please ingest it.Claude reads the article, discusses the key points with you (if you asked for that), writes a summary page, creates or updates pages for the people and concepts mentioned, updates index.md and adds an entry to log.md. This takes a few minutes per source.
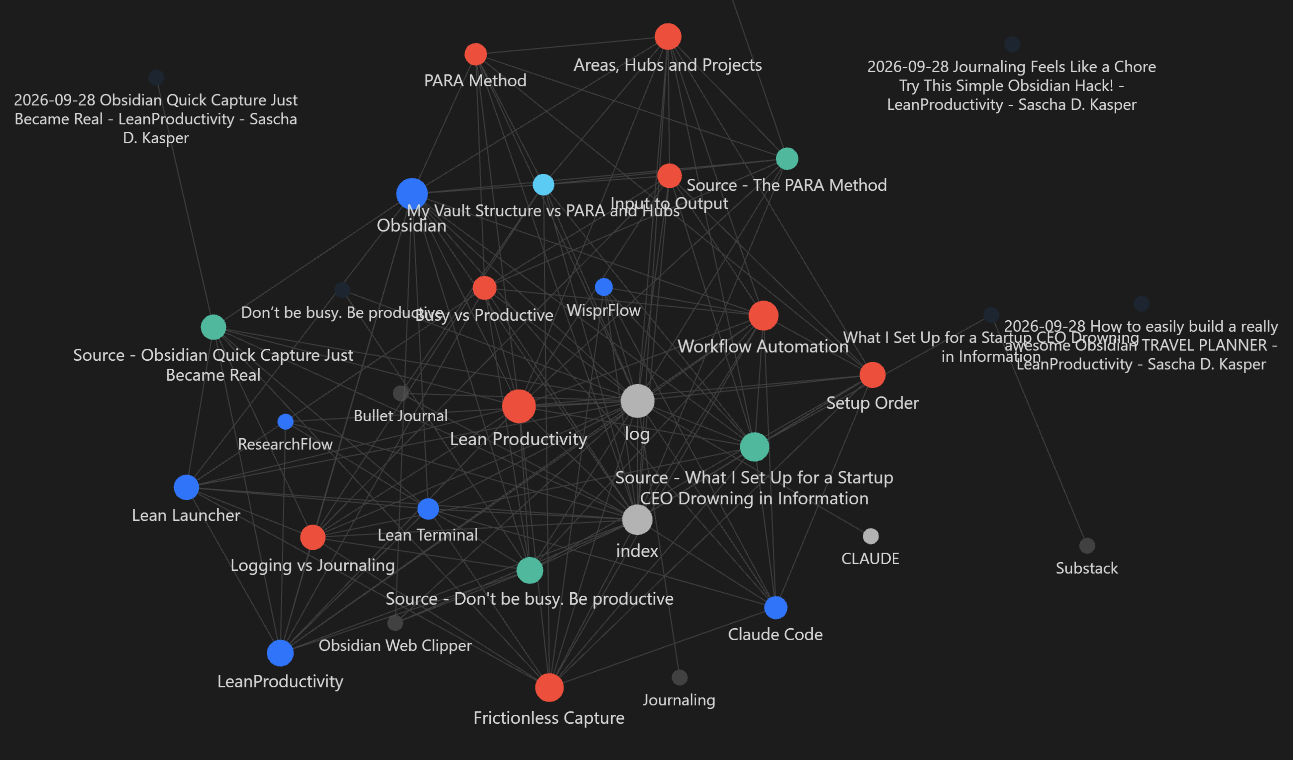
Now switch to Obsidian and open the Graph view (the network icon in the left ribbon). You’ll see your first pages connected to each other. With every new source, that graph grows.
Step 7: Ask Your First Question
Once you have three or four sources in, try a query:
Based on my wiki, what are the main points of disagreement between my sources on [topic]? Cite the pages you used.If the answer is useful, keep it:
Save this answer as a new page in the wiki and link it from the related pages.This is the part most people skip, and it’s where the compounding happens. Your questions become knowledge, not just chat history.
Step 8: Run a Health Check
Once a week, or after about ten new sources, ask for a lint:
Lint the wiki. Look for contradictions, outdated claims, orphan pages, missing links and topics that deserve their own page. Show me what you found before fixing anything.Your Weekly Routine
As much as necessary, as little as possible. This is all you need:
- Clip only what you’d want to remember in six months.
- Ingest in one batch, for example on Friday afternoon.
- Ask questions whenever you need something, and save the good answers.
- Lint once a week.
Limits and Honest Warnings
- It doesn’t scale forever. The catalog approach works well up to roughly 100 sources and a few hundred pages, according to Karpathy. Beyond that, you’ll want a proper search tool. He mentions qmd, but that’s a job for later.
- The AI can be wrong. Summaries can drop nuance or merge two ideas that don’t belong together. For anything important, click through to the source in
rawand check. That’s exactly whyrawstays untouched. - Privacy. Everything you ingest is sent to Claude for processing. Don’t feed it confidential client documents or anything your employer wouldn’t approve.
- Back it up. It’s just a folder of files, so any backup works. See Bulletproof Your Notes - Best Obsidian Sync and Backup Picks.
- Local AI models aren’t a free shortcut (yet). You can connect local models, but smaller models tend to miss links and quietly make mistakes during ingest. For beginners, stick with Claude.
Other Options
If neither path fits, these community projects build on the same idea:
- Karpathy LLM Wiki plugin: an Obsidian community plugin that does ingest and queries inside Obsidian. It works with many AI providers, including local ones, but you need an API key and pay per use instead of a flat subscription.
- claude-obsidian: a popular ready-made package of commands for Claude Code. Powerful, but on Windows it needs extra setup (WSL), so it’s not a beginner pick.
FAQ
Do I need to know how to code?
No. With the Claude Desktop path you never type a command. You only paste text and click buttons. The terminal path needs three commands, all explained above.
Can I use the free Claude plan?
No. File access through Claude Code and the Code tab in the desktop app needs Pro or higher.
Is Obsidian required?
Not technically. The wiki is just Markdown files, and Claude is the engine. Obsidian is the best way to read it, though, thanks to links, backlinks and the graph view.
Can I use this with my existing vault?
You can, but start with a separate vault. Once you understand what Claude changes and how, point it at a dedicated folder inside your main vault.
Are there optional extras?
Two from Karpathy’s gist. The wiki is just a folder of Markdown files, so you can put it under git for version history. And if Claude adds YAML frontmatter (tags, dates, source counts) to wiki pages, the Dataview plugin can turn it into dynamic tables. Neither is needed to get started.
What kind of sources work best?
Anything text-based: articles, meeting notes, book notes, podcast or video transcripts. Topics you return to again and again get the most value, like a research project, a hobby or your own health.